Thursday, 21 June 2012

RG Freedom legs and feet

Hi all! Hope you're doing well :)

This time i'm making RG Freedom's legs and feet! (The feet and then the legs, actually xD)

let's get with it :)

Reach for the sky!

The instructions for the legs and feet :D

Almost all the runner trays are needed xD

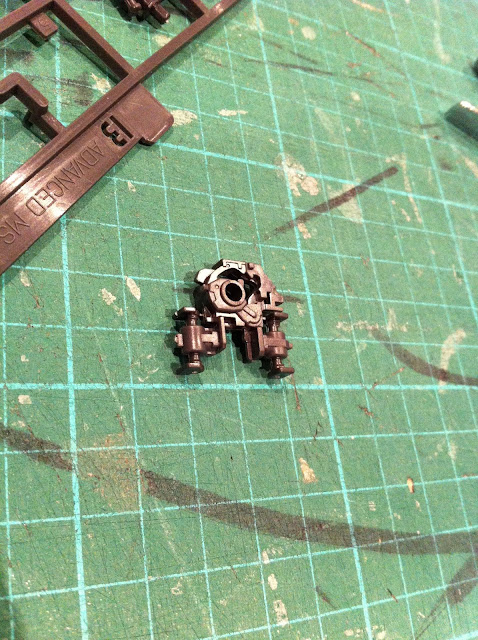
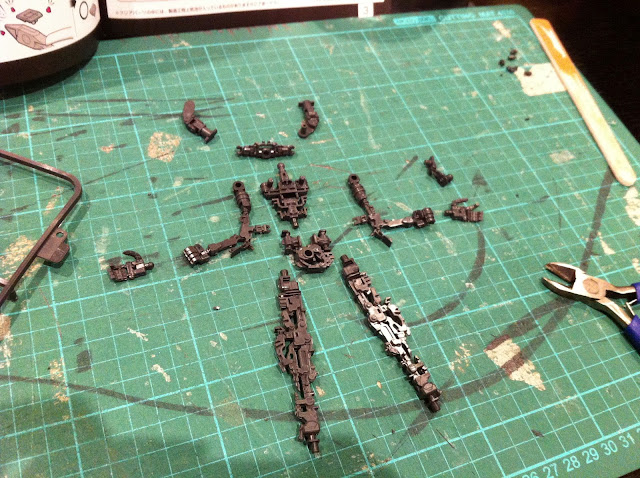
I had to dismember him ><

Do you guys think I should take pictures of the un-assembled parts like this, or only after I've put them together? Or both? xD

The feet parts!

Almost complete :D

Look how flexible they are!!! :O
WHOA


More parts

Don't they look like Sonic the hedgehog's shoes? Except these are blue xD

Frame in boots!


On to the legs :)

Incapacitated!

More parts to complete the frame

I realize I should have put in this white flap before pressing the parts together >< had to pull them apart xD

Look, it can open!

The little booster thing can pivot too!

Can you see the subtle tone difference between both the white parts?

The flap and booster fit nicely with the ankle armor :D


 Thigh armor!

Shin armor!

Knee armor! Is it hard to spot which parts I've added? Should I take pictures of the un-assembled parts too?

With the foot attached!

With only one armored leg :D

Some breakdancing moves xD

I skipped the process for the left leg to cut things shorter :)

More breakdancing xD I'm getting really comfortable with the level of detail and flexibility :D

That's all for now guys!! May God bless you all :)

Thursday, 14 June 2012

RG Freedom frame

Hi all!

Before this, I was really reluctant to get started on any RG kits, 'cause of my lack of experience with highly detailed kits =/ but after some encouragement from Gundam Beginner, I decided to give RG Freedom a go :D

This kit also happens to be a birthday gift from Gundam Beginner and another friend! Shoutout to them :D

So, here goes :)

The box! (i'm having trouble with my images right now, they keep rotating automatically in blogger o.o)

 I took everything out before remembering to snap a photo, so this may not be exactly what the first look inside looks like xD
 That's a LOT of parts for a 1/144 scale kit :O!!! Feeling a little overwhelmed(I don't even own one PG kit. yet.)
 The instructions come in a book :O
 This is what I'm aiming to get done tonight, just the inner frame :D
 That whole frame comes from this single runner tray :O wondering how they fit PG level frame detail into a single runner tray o.o
 mental note: an ipad that has a stand makes a good instruction manual stand xD
 I initially thought this was the body unit, the numbers on the instructions don't match those on the runner tray, maybe just for the frame though.
 This is the body unit :D
 Wing units, body unit and waist unit
 The arm comes molded at an angle, which puzzled me and then really surprised me O.O
 This is how it comes out of the tray, and then...........
 WHOA!!! Almost EVERY tiny bit can pivot or rotate somehow!
 This is how the hands come out, the fingers are all jointed except the first one from the fingertips

 halfway out of the tray :D
 legs! the legs are CRAZY detailed, I'm really reluctant to bend them too much in case i break them, but in place of the standard single hinge for HG, there are two hinges like MG and PG, and also lots of sliders and piston-ish things that move when the legs are bent :O!! Mind. Blown. I heard from a friend that RG was detailed, but still, whoa. I might get a couple more RG kits.
 with the feet now.
 top half! looking good :D
 with the legs
 first time standing!
 with flash, just to show the detail better xD sorry about the bad lighting ><
 The back
 Extra bits that came out of the same tray: wing units(not sure how to attach them right now), hand units(I don't dare to pull out the hands that are already in the sockets ><), and an attachment unit for the shield :D
 Frame done! I need to come to grips with the level of detail of this kit xD
That's all for now guys! God bless you :)